
How to Make Cold Pressed Juice: A Step-by-Step Guide
Learn how to make cold pressed juice with your Juiced Rite commercial juicer with these step-by-step instructions.
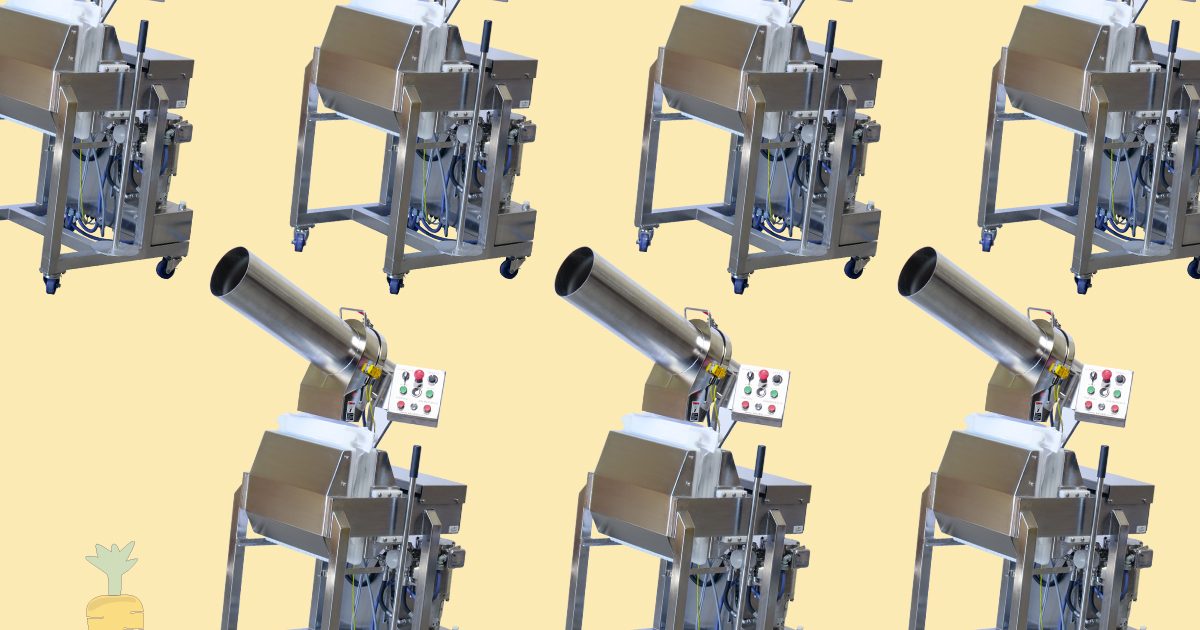
Yay! Your Juiced Rite cold press juicer arrived! Let us be the first to congratulate you on your new family member! So… now what?
No worries, we got you! Setting up your brand new Juiced Rite Cold Press Juicer is easy. Read through the steps below to set up our larger, freestanding machines (same basic set up for all machines except the CM25 and M800).
Want to see a demonstration of how to set up your Juiced Rite juicer? We have a video for that too! Check it out below:
Most Juiced Rite cold press juicers arrive wrapped in colored cellophane (and usually in a fun produce shape!) while others are crated or skidded, depending on your location. Either way, open up your machine packaging carefully. The chute will likely be tucked underneath and your collection pan will be full of all the goodies that come with a new machine.
Every new machine (except the M800 and a little different for the CM25) arrives with the following accessories or removable parts:
After unwrapping, we invite you to take a quick “family photo” of you and your new machine and share it with us! Social media @juicedritellc on Instagram or via email to marketing@juicedrite.com (thanks!).
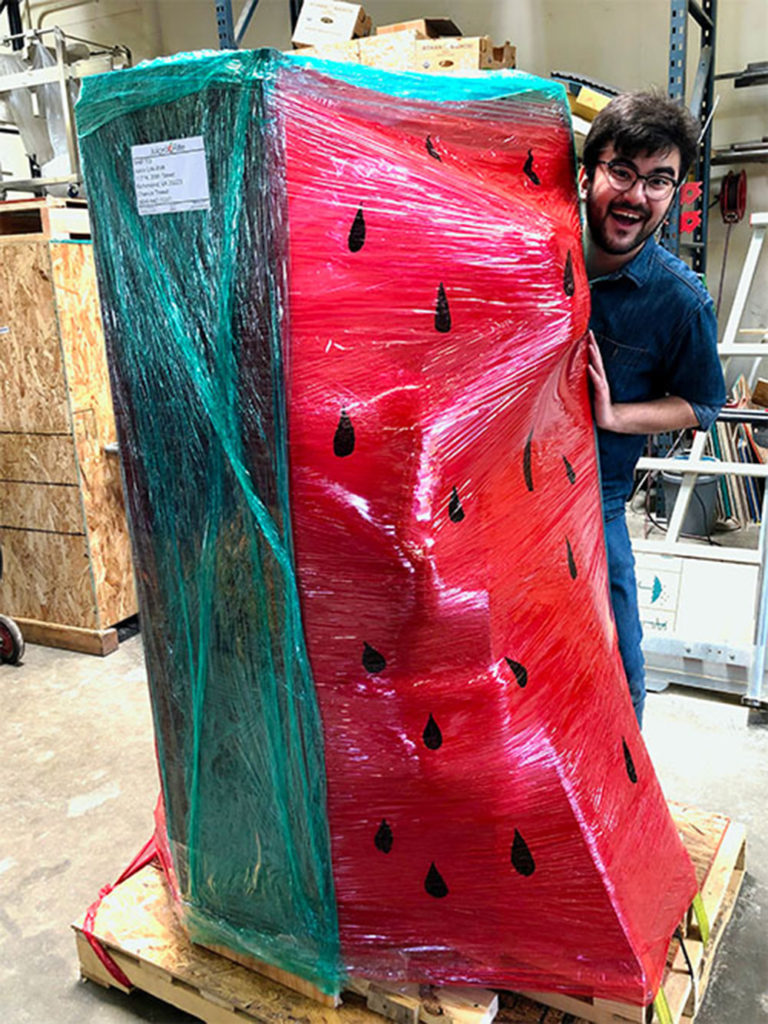
You can also name your machine and write it on the “Hello, My Name Is…” sticker located inside the Electrical Panel (learn how to open this box here).
Before you operate your machine for the first time, you will need to thoroughly clean and sanitize the machine and all the parts fully. This includes the boards, bags, blades and all areas that come in contact with food. Follow these links for our recommended cleaning process and sanitizing process.
Once all your parts and machine are fully cleaned and sanitized, follow the following steps for setting up your machine correctly.
The first thing you will need to install is your sanitized Hub and HDPE Blade Holder. Simply reverse the steps you took to remove them for sanitizing (but if you forgot how to install or uninstall your Hub and Blade Holder, here are those instructions again).
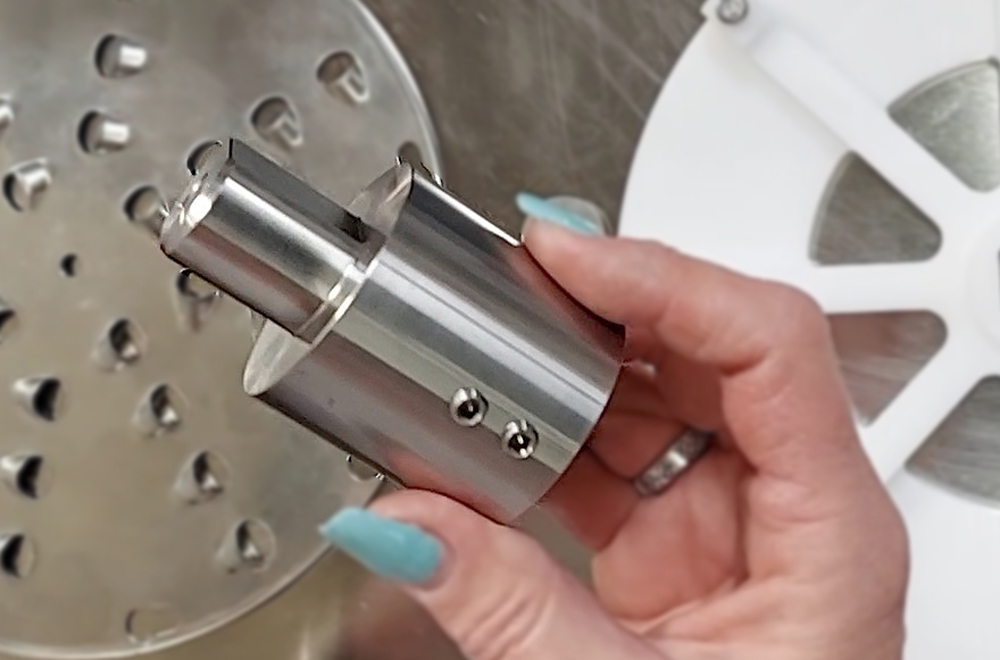
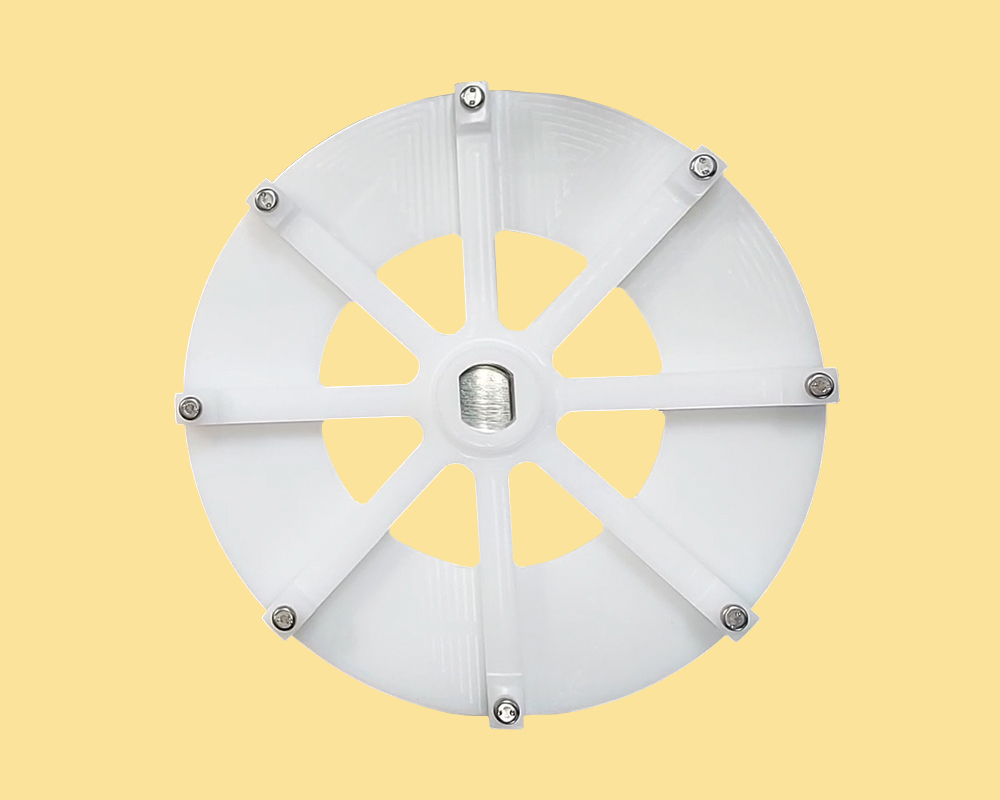
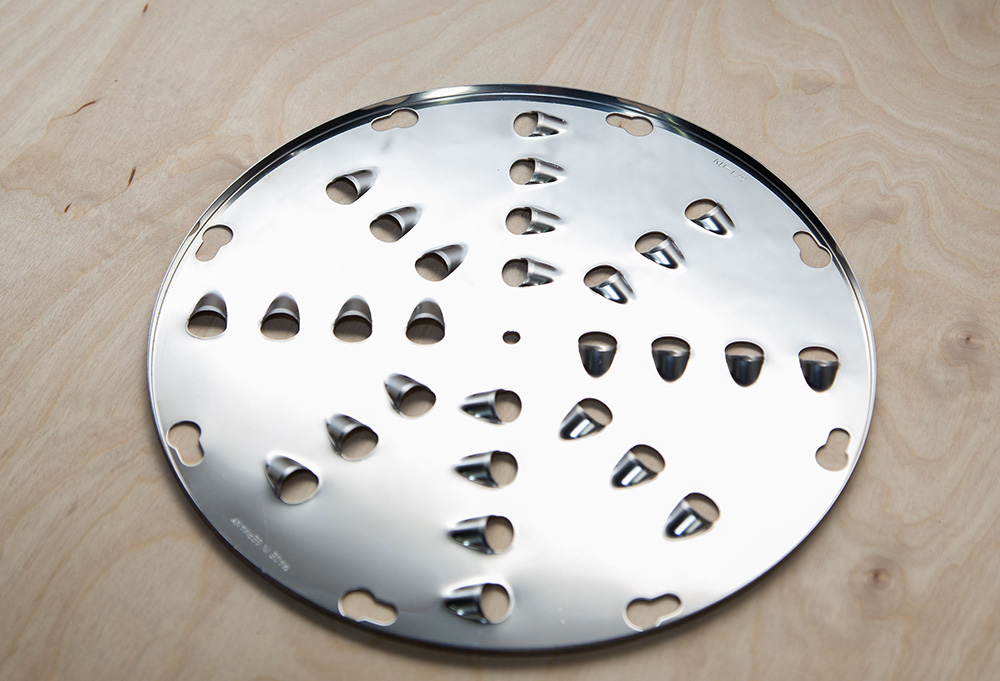
With your hub and blade holder installed, you’re ready to install your Shredder Blade. Your machine arrives with three (3) blade styles, ranging from the pulping blade to 1/2″ scallop.
#PRO TIP: As a quick rule of thumb, we recommend the larger scallop for softer produce and smaller for harder. The pulping blade is an excellent choice for mixed produce (which we highly recommend- find out why here).
Choose which blade you would like to use, then follow the steps to install your shredder blade here.
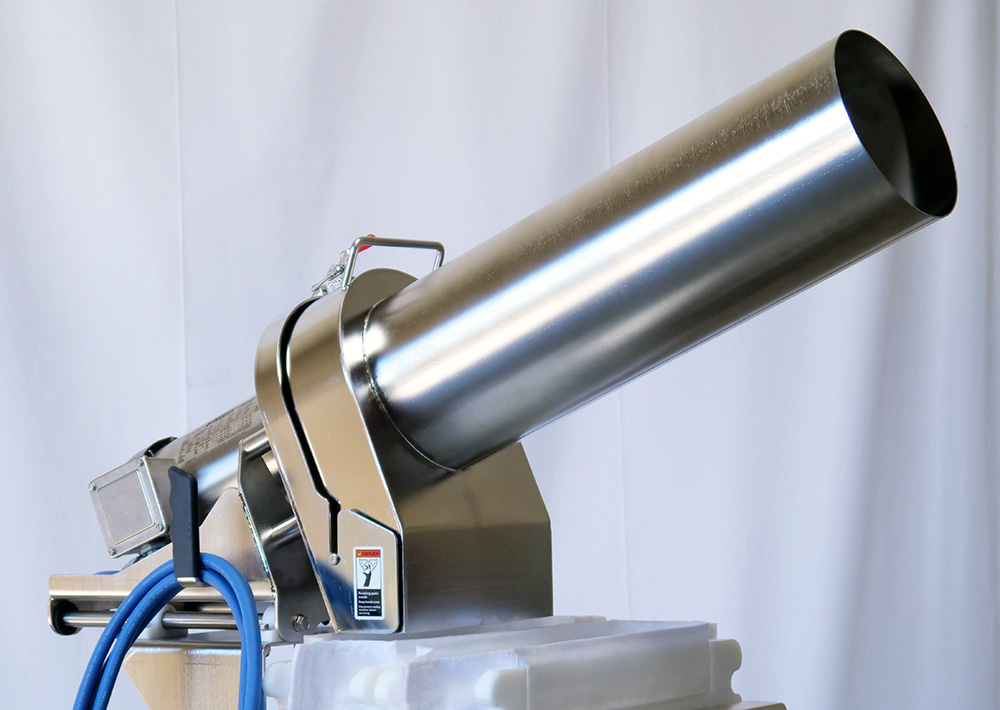
The Shredder Chute is next, after all the blade parts have been installed. To install the chute, pick it up with the tube on your shoulder, the arc shaped end in your hands and holding the handle. Facing the front of your machine, line up the pins at the bottom of the chute with the slots on either side of the shredder housing, located below the blade area. The chute itself can be fully supported in this position without being latched in, we refer to it as the “tilt” (go ahead, let go and try it out!).
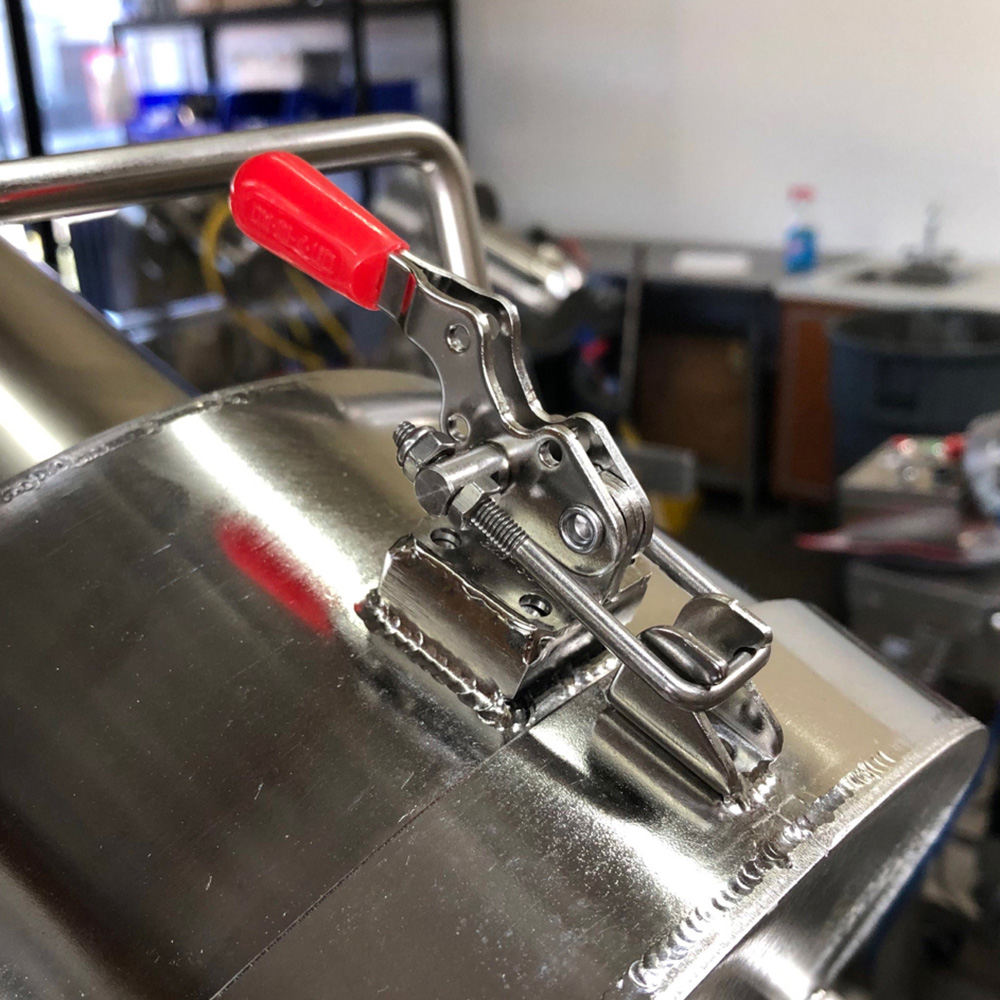
Once the pins are completely in the slots, use the handle to rotate the chute over the shredder blade and parts. Then connect the bail hook at the top and latch the chute onto the machine.
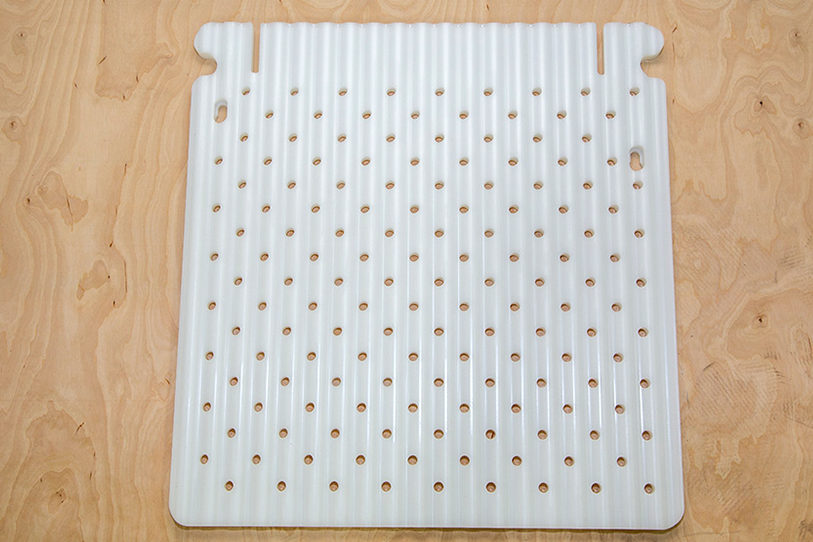
Next you will want to install your Press Boards on the platens of your machine. The platens are the flat, stainless steel surfaces that come together to press your produce when making juice. The M75 and M100 have two (2) platens, a moving and stationary. The M200 has four (4) for two press areas while the M400 has eight (8) platens for four press areas.
On the inside surface of the platens, you will find two horizontal pins at the top of each. Line these pins up with the keyholes on the boards. Then push the boards down so the pins are fully inserted into the smaller end of the keyholes.
All of the most recent models of Juiced Rite Cold Press Juicers arrive with our cuff style course bags (with the exception of the CM25). The Cuff Press Bag is very easy to install, you simply slip the cuff over the notched center of the press board on each side. Voila! You’re done!
Course bags are excellent for most applications, but your recipes and processes may benefit from a tighter weave or different material in the bag fabric. You’re in luck! We offer Universal, which are pretty universal in use, and Fine Press Bags as well. Learn more and place your order with our Orders Dept. via email at orders@juicedrite.com or phone toll free at 800.590.9670 or locally 909.464.8253 ext 2.
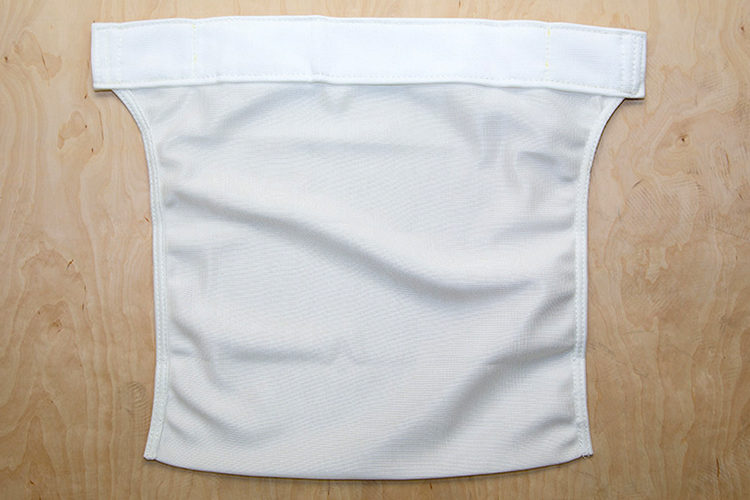
The Shredder Skirt is not required for using your machine, but it does improve your juice process quite a bit. The skirt not only minimizes the mess by directing the shredded produce into the bag (instead of the outside of the press), it optimizes your yield by reducing waste.
To install your shredder skirt, hold it so the straps are at the top. Slip the skirt over the opening at the bottom of the shredder and pull the straps up to the top of the shredder housing. Then loop the strap into the d-ring and pull to hold in place. The skirt does not need to be overly snug, just held in place so it is securely over the shredder opening.
Once installed, you can push the bottom end of the skirt into the bag so that all shredded produce goes exactly where you want it and can become juice!
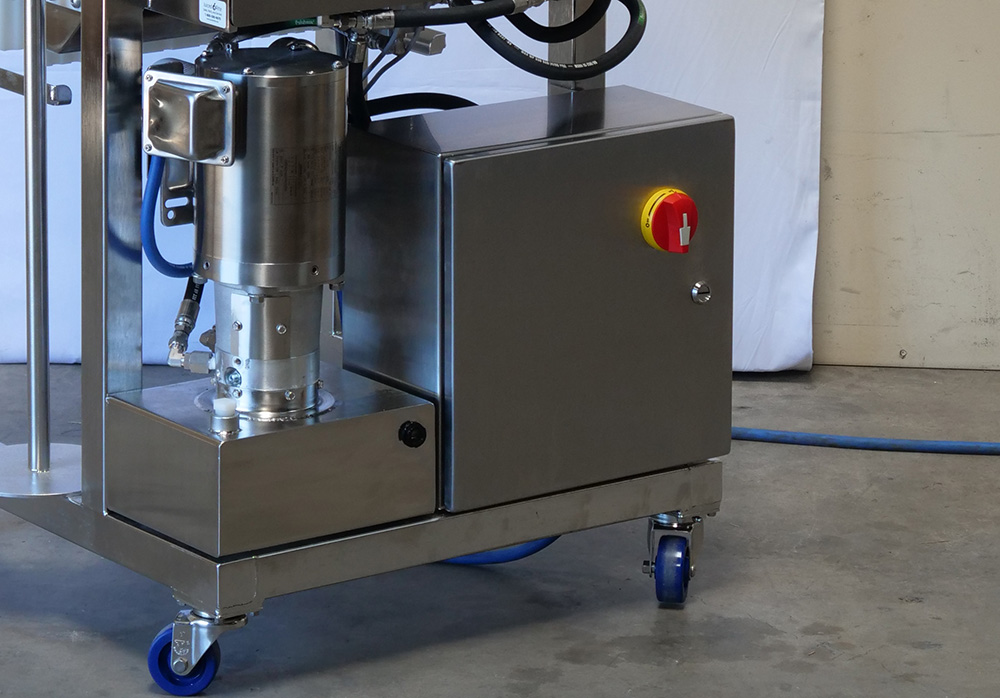
The final stage of set up is plugging your new teammate in! Double check that the main power is on (the red switch at the back of the machine on the electrical panel) and the e-stops are disengaged (learn how here). You’re now ready to power up your machine and run your press for the first time!
If these steps seem a little daunting or you need some help, never hesitate to call and ask for assistance. Our Service Dept is only a phone call or email away: toll free at 800.590.9670, locally at 909.464.8253 ext 3, via email service@juicedrite.com.
Don’t want to go it alone? New machine purchases come with an optional Set Up & Training where we personally come to you and not only help set up your machine, we train you and your operators on how to use your cold press juicer! Ask your non sales sales officer for more info at 800.590.9670 or locally 909.464.8253 ext 1 or via email sales@juicedrite.com.
For full operational instructions, check out this article here.
Want to see a demonstration of how to set up your machine? We have a video for that too! Check it out here.
Congratulations On Your New Juiced Rite juicer!

We’ll send new article alerts & product updates.
| Thank you for Signing Up |


Learn how to make cold pressed juice with your Juiced Rite commercial juicer with these step-by-step instructions.
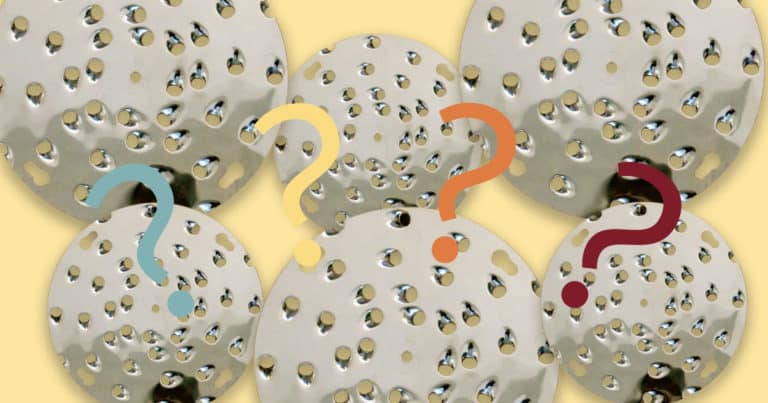
In this article we discuss the ideal use and merits of each blade available through Juiced Rite.

Learn more about our Onsite Set Up & Training and how we live the #vanlife to get your machines delivered to you!