
Slower or Faster? Shredder Speed Control
Ready to improve your yield and reduce waste with Juiced Rite machine’s Shredder Speed Control?


SAFETY FIRST! Always remember to turn your power off and unplug your machine before working on any type of electrical maintenance or cleaning. You can turn off the main power with the red and yellow switch on the electrical box located at the back of your press.
Power is off? Machine unplugged? Good — it’s time for action!
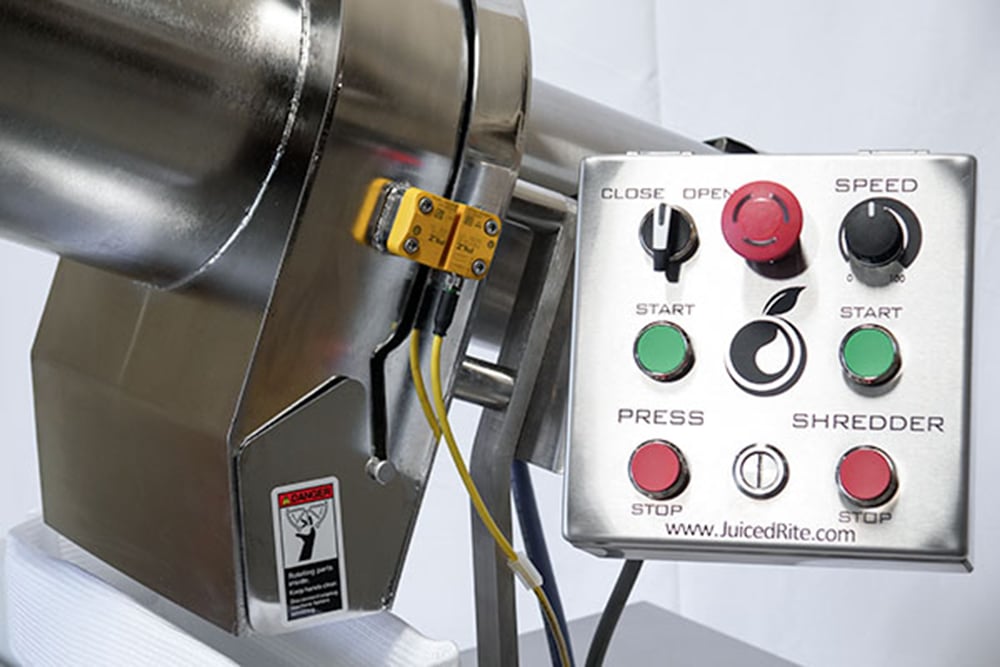
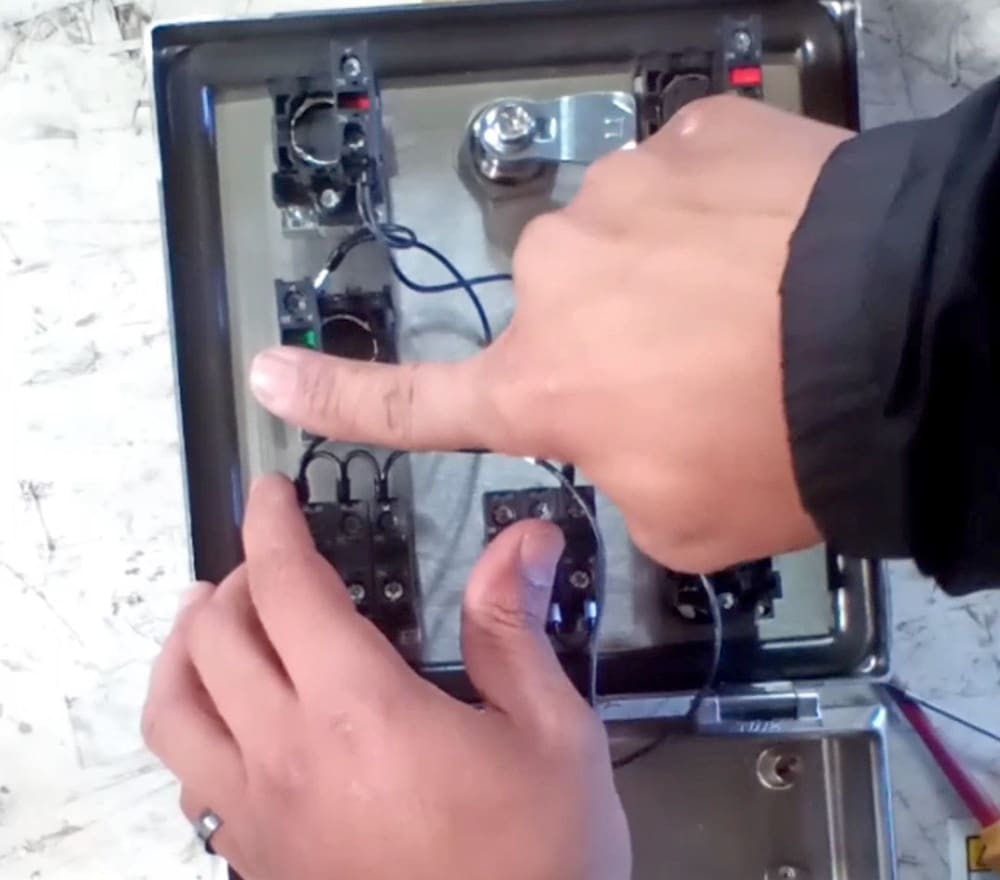
The button you’ll replace is in the Control Panel located next to the shredder. The Control Panel is the front/top portion of the Control Box, which houses all your buttons and switches for operating the machine.
For a walk through of replacing your button, check out the video and written instructions below:
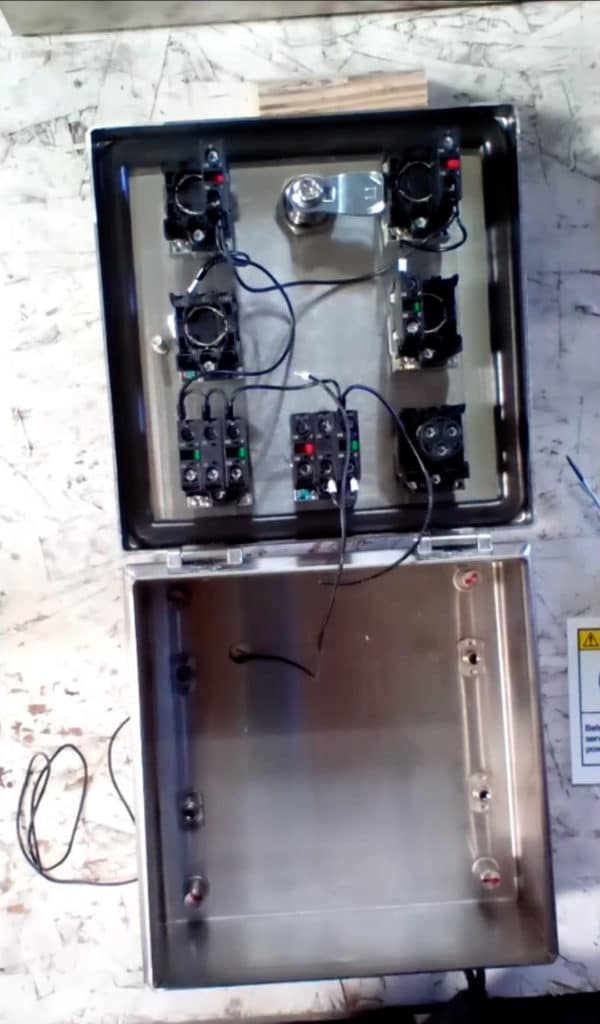
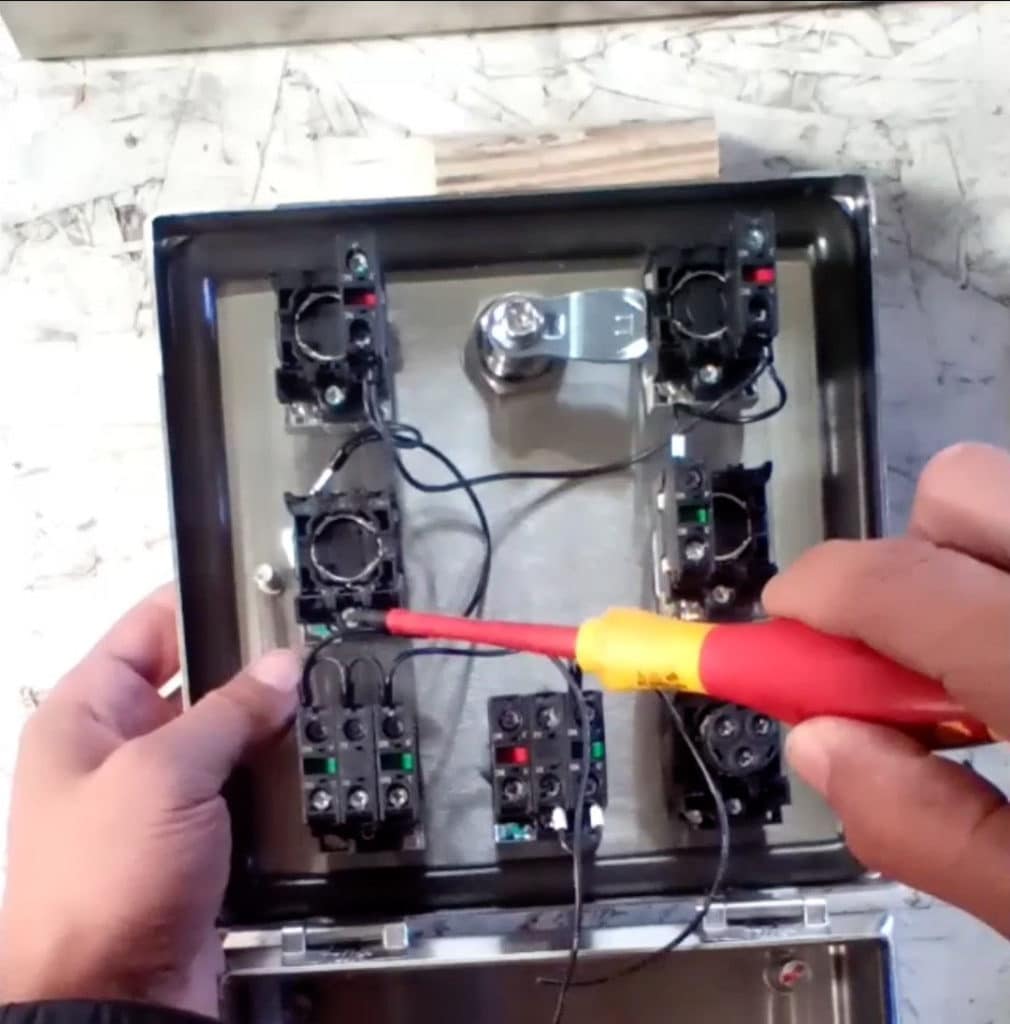
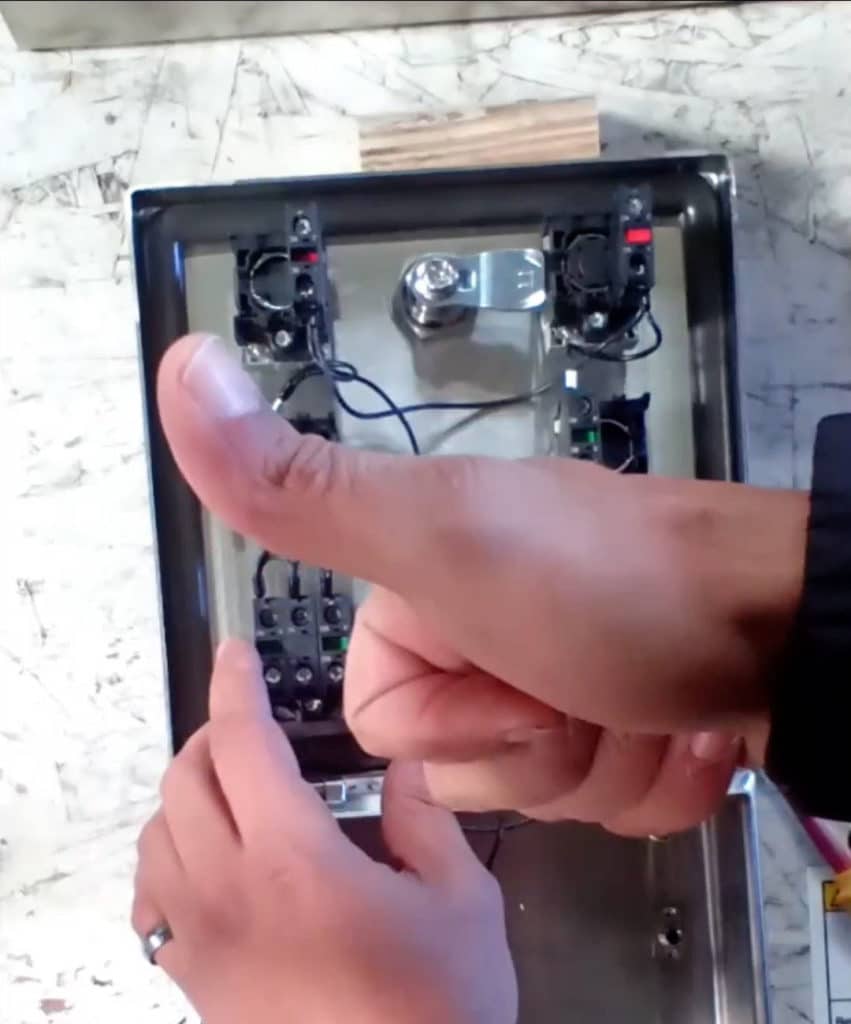
1. To start, open your control box so you can see the inside panel behind your buttons. Read this article for instructions on how to open your control box.
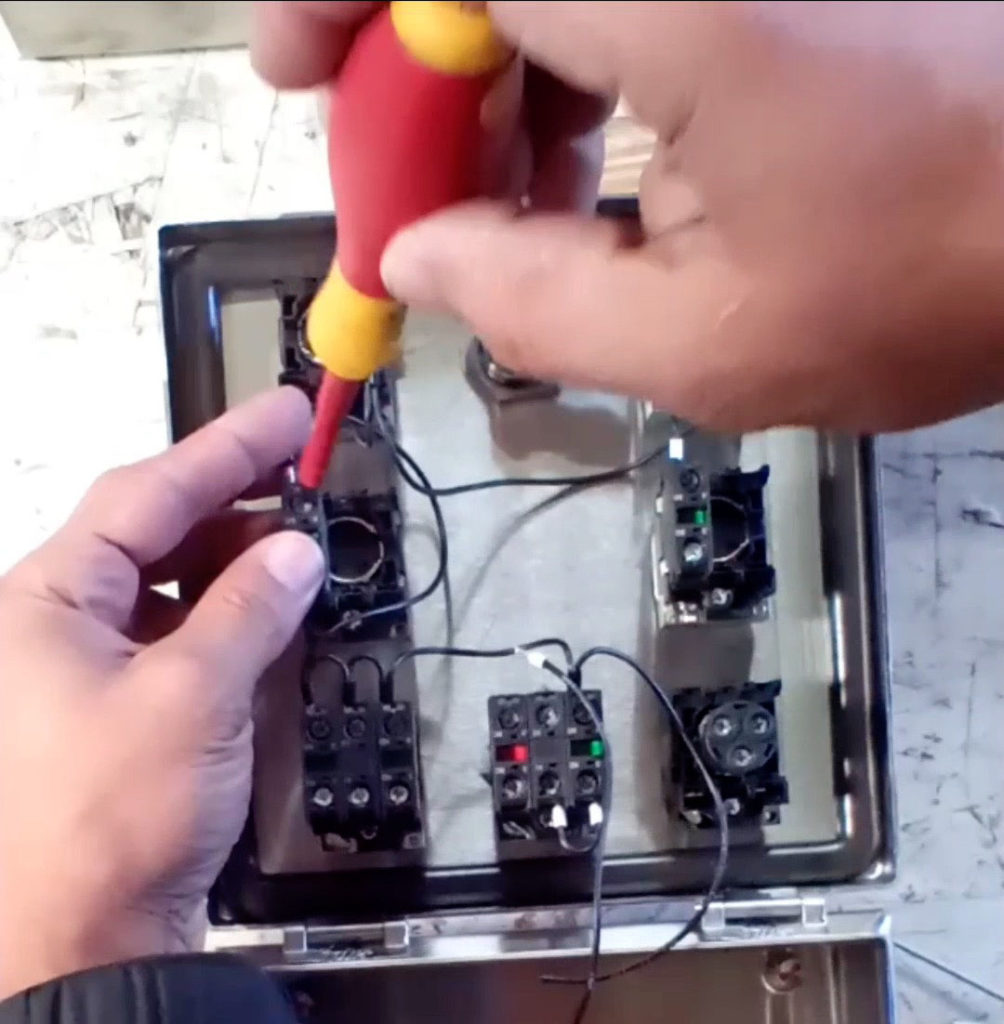
2. Then, loosen the two screws holding down the terminal wires.
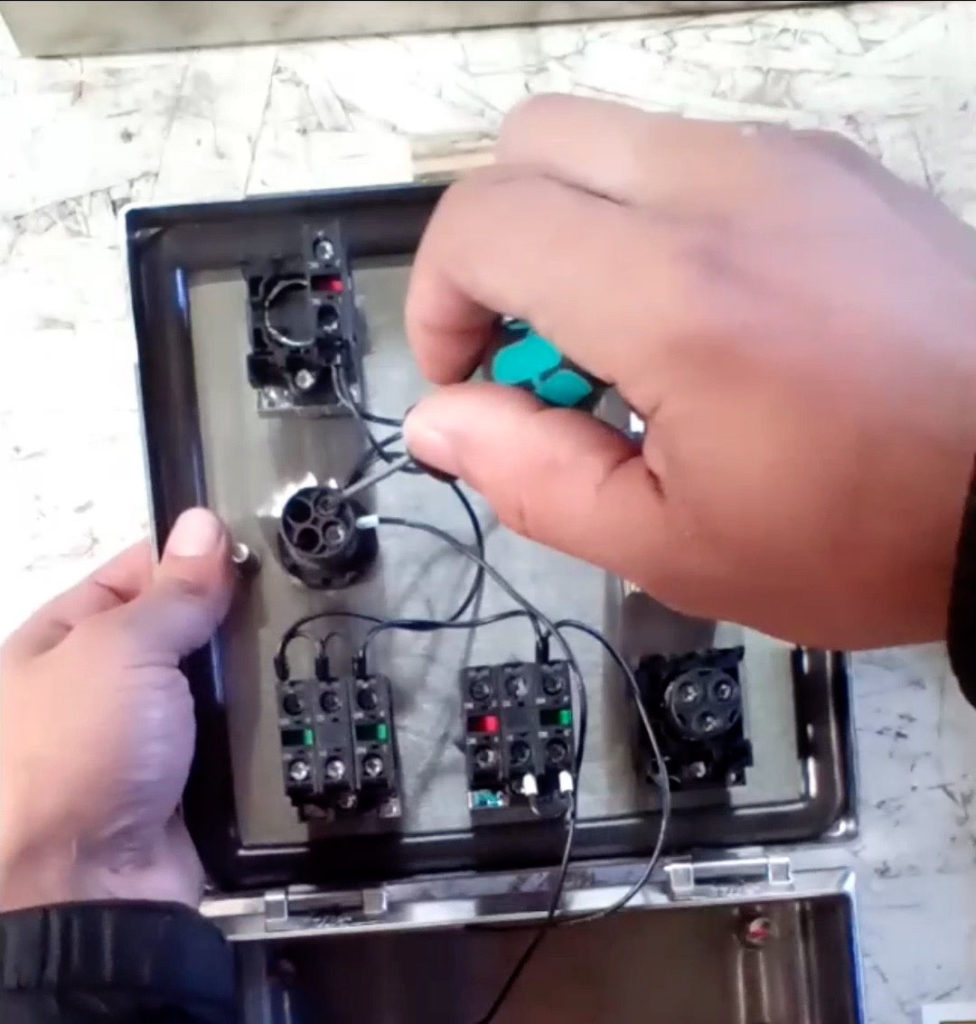
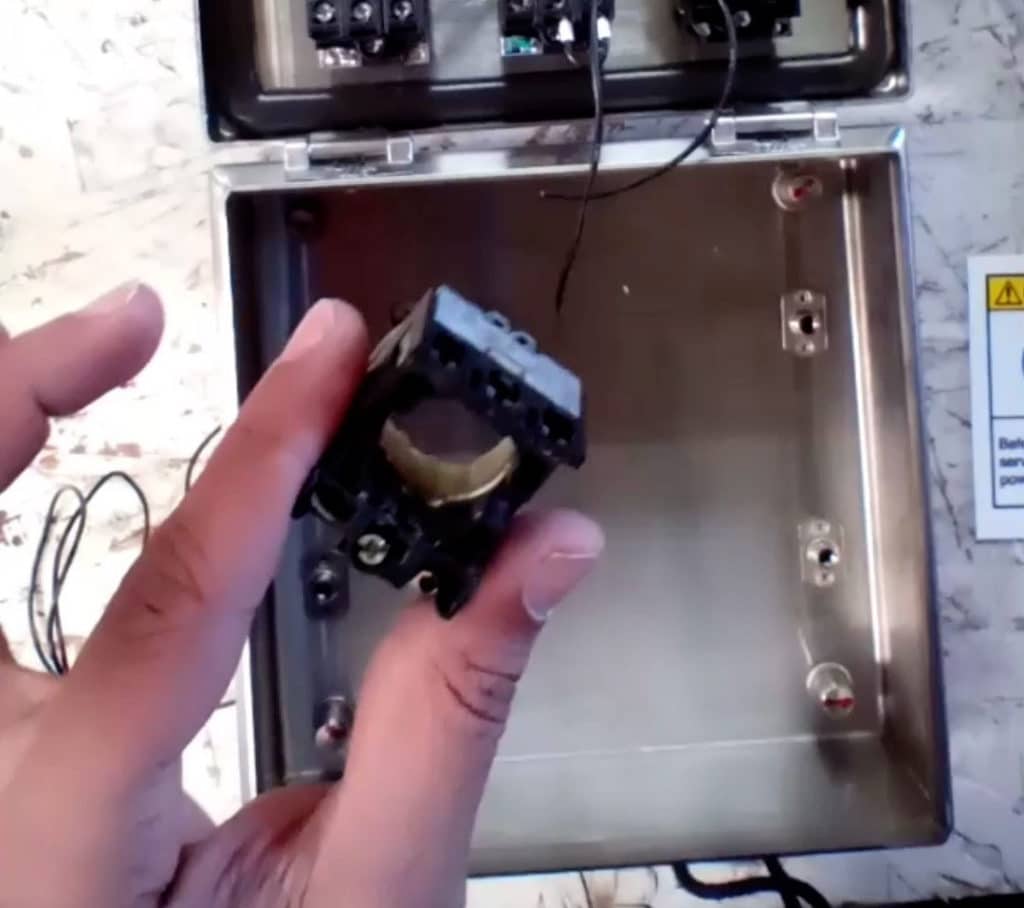
3. Next, remove the wires and Lock Nut at the base of the button. Toss your old button (safely, of course, don’t conk anyone on the head!)
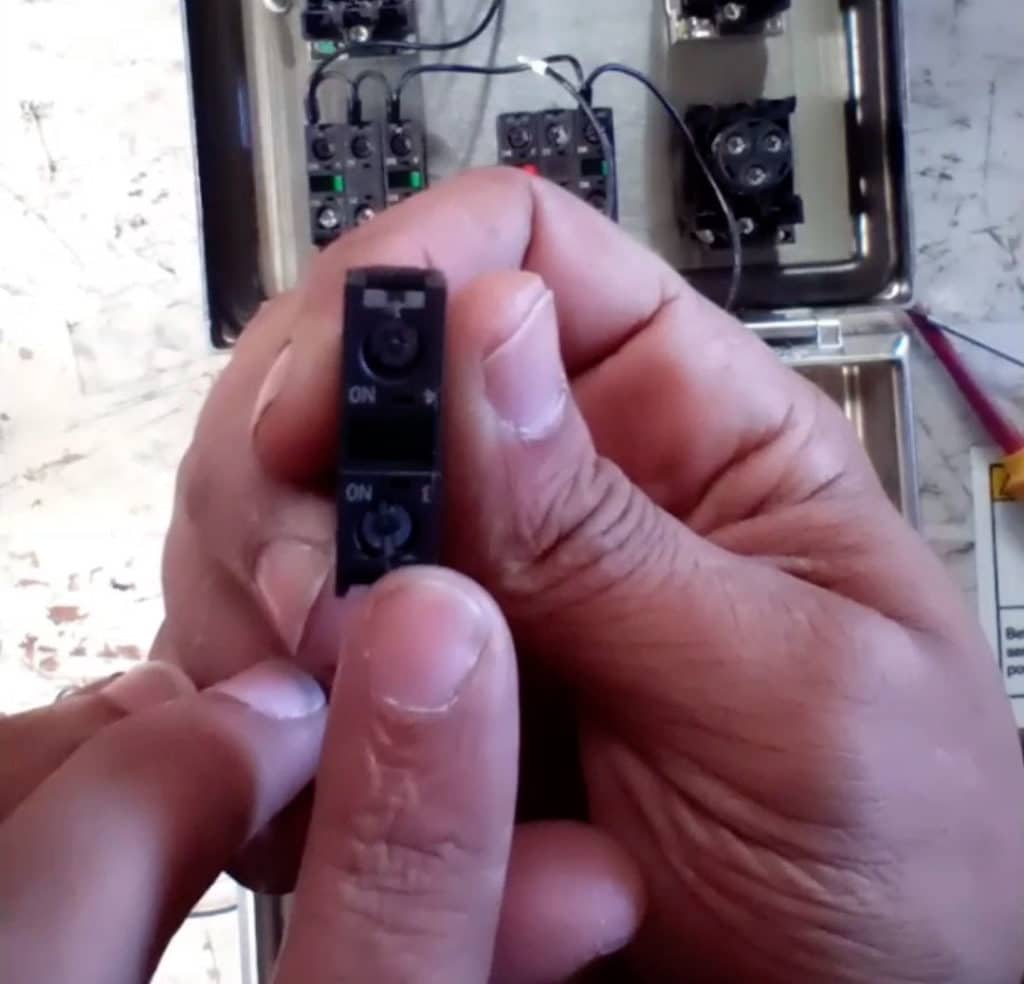
1. Now, grab your new Button.
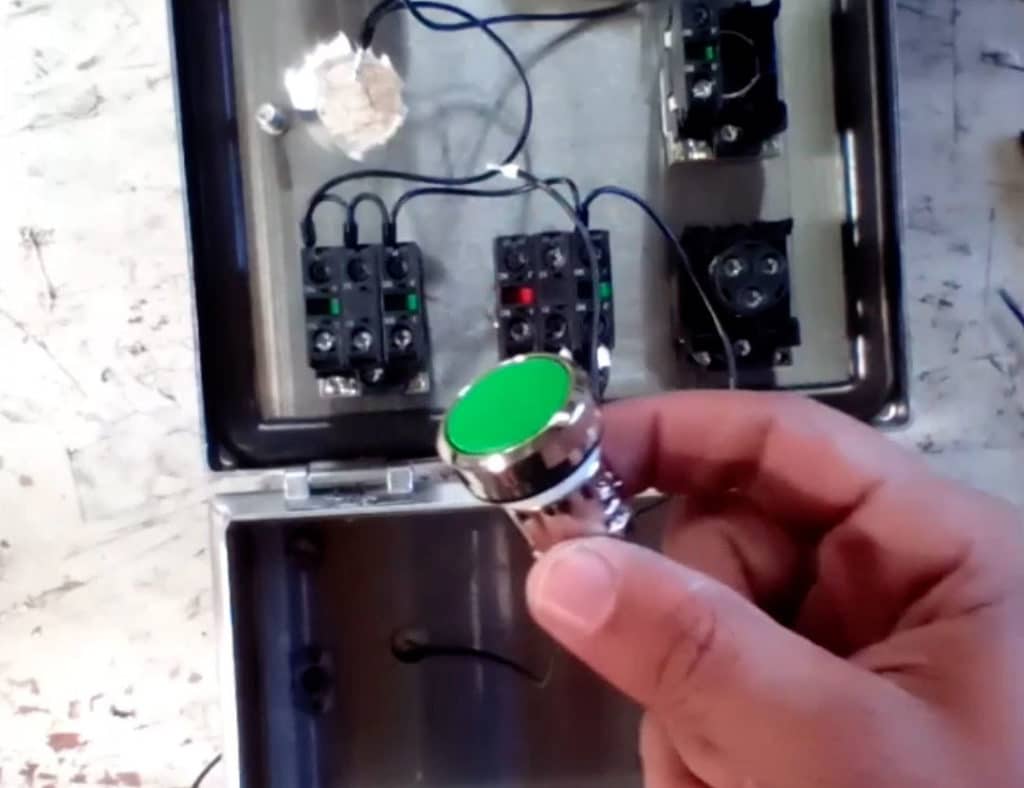
Note: The old button you’re replacing has a lock screw to hold it in place. The new style buttons use a contact block holder on the back instead.
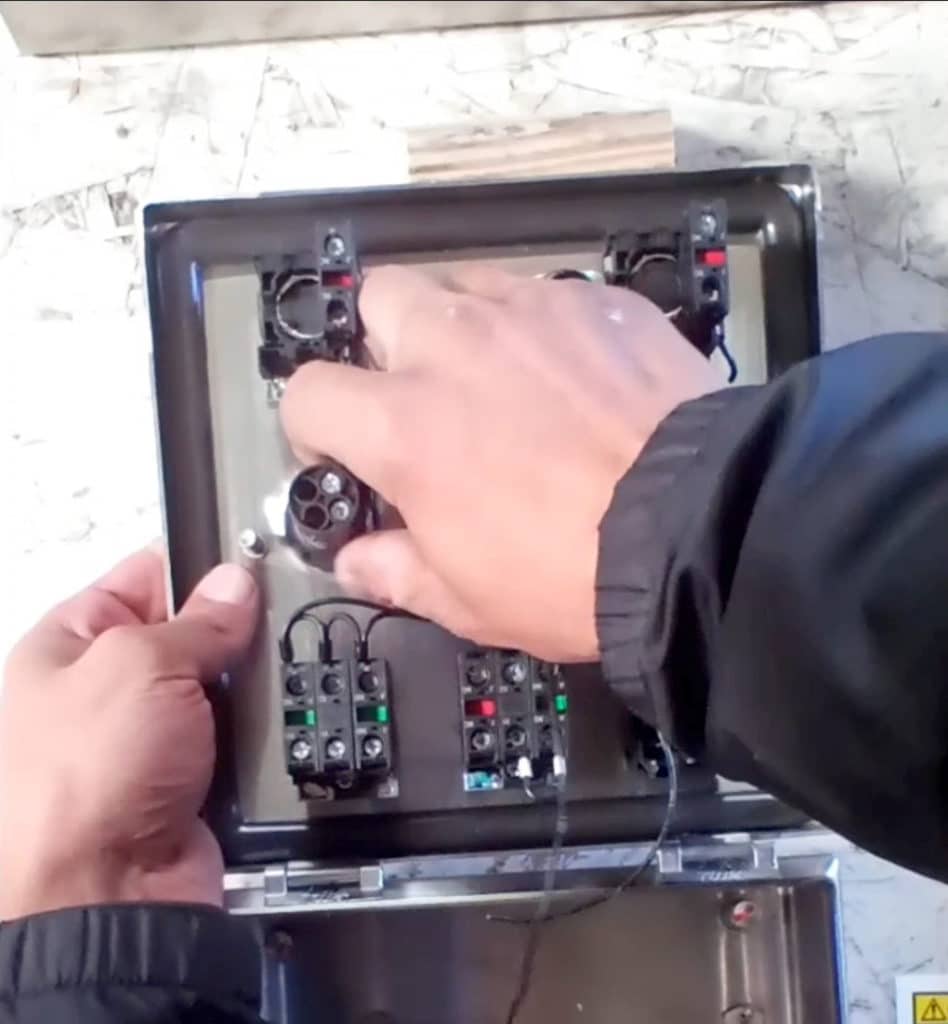
2. Then, put the button through the hole in the front of the control panel.

3. Line up the grooves and arrows on the contact block with the ones on the button.
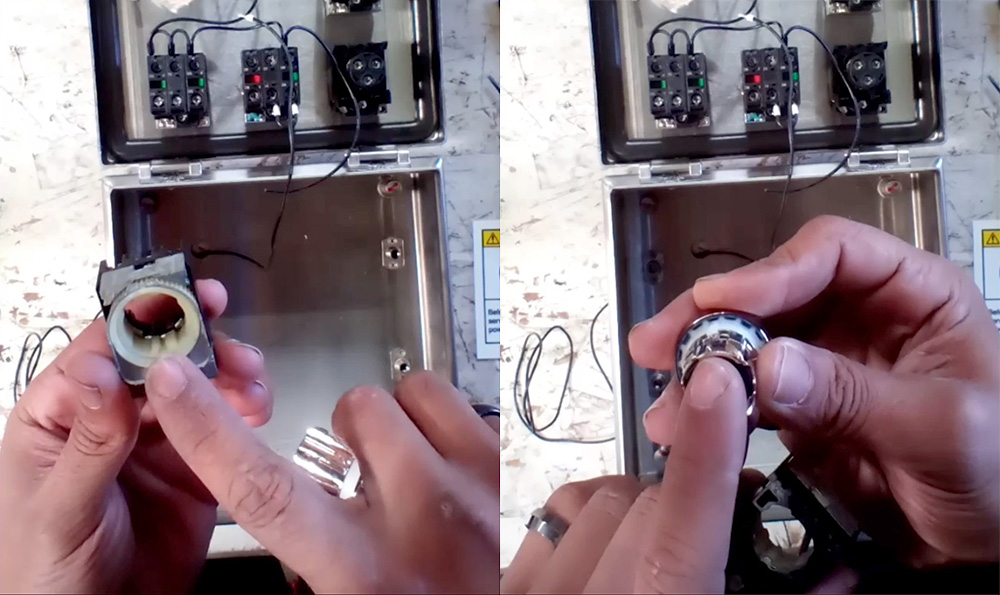
1. Install the contact block holder onto the back of the button you’ve just put on your control panel (see finished product to the right).
When you install the contact block holder it’ll make a click — that’s how you know it’s in!
2. After you hear that click, tighten the screw used to hold the contact block holder down to secures your button into place.
3. Now, grab your Contact Block.
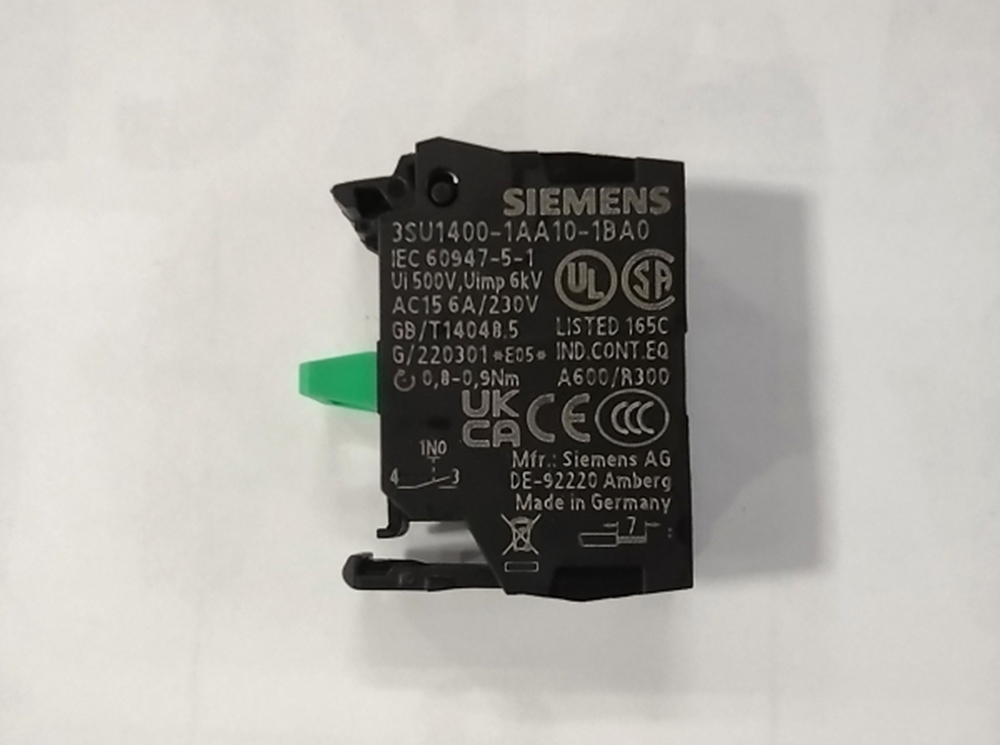
Check the top of your contact block and make sure the number Four (4) is at the top and the number Three (3) is at the bottom.
You can see these numbers on the side of the contact connections (image above) or on the contact side (image to the right). They’re really tiny and will appear upside down to you!
4. Next, hook the top of the contact block into the holder to the left side of the button back.
To make sure the contact block is in place, push down on the bottom of the contact block with one finger and just a bit of pressure (and maybe a little wiggle) until you hear a click — that’s how you know it’s secured.
You’re almost there!
5. Lastly, re-install the wires that you removed before.
Your Number One (1) Wire will be going into the Number Four (4) Terminal. Tighten the screw to hold it securely.
And with that, your button and wires are secured and you’ve done it — Good Job!
Congratulations on Your New Button!


Ready to improve your yield and reduce waste with Juiced Rite machine’s Shredder Speed Control?
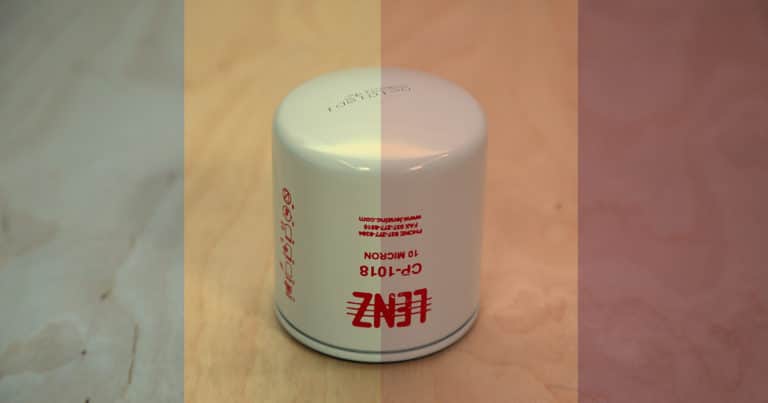
Step by step instructions for changing the screw-on type oil filter for your cold press juice machine.

We recommend that you change the oil in your juicer once a year, at a minimum, but frequency may change if you use your press often.