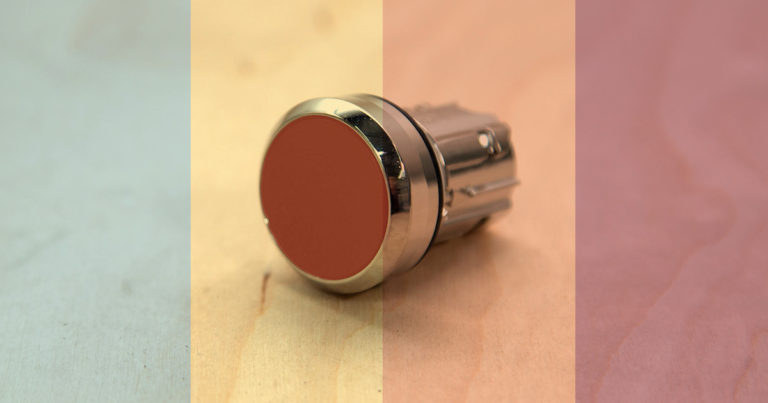
How to Replace a Button on Your Control Panel
Replace your Cold Press Juicer’s control panel button – learn how to switch an old-style lock nut button with the contact block-style button.


For this job, you’ll need the following items:
*Regular filter changes every six months should lend to easy removal by hand with no wrench needed.
While the chute is facing you, look in the space below the platens (in the belly of your machine, if you will). You will see a canister to the right — that’s your juicer’s oil filter!
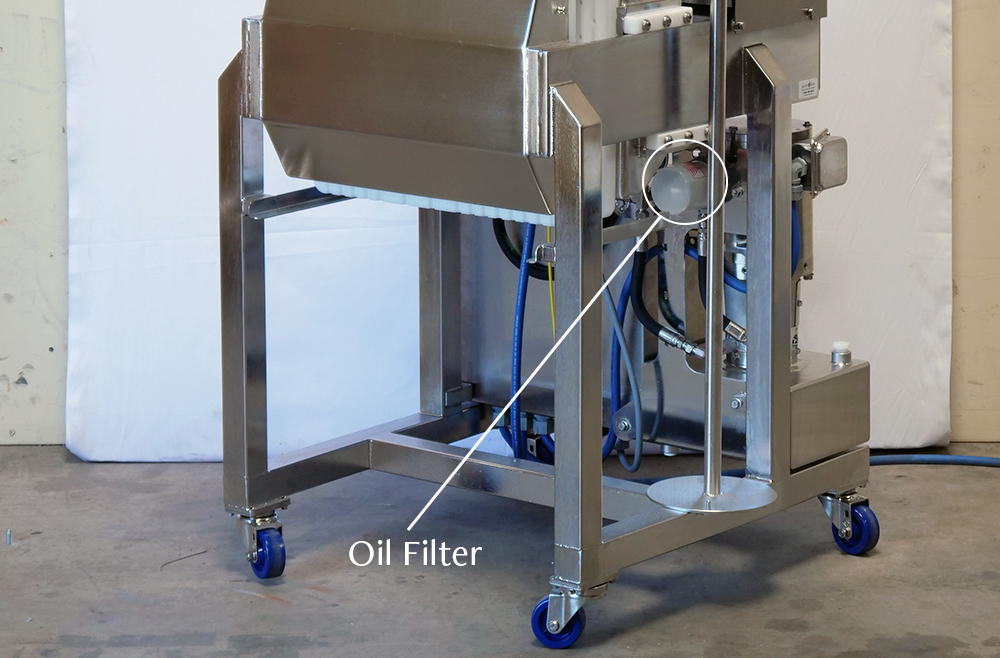
#PRO TIP: Dripping oil can get a little messy (sometimes a lot messy!). Before loosening your filter, hang a long strip of tape from the fitting at the bottom of the oil filter. Let the tape hang down to your pan. When you remove the filter, the oil will follow the tape and drip straight into the pan! This keeps your system, hoses and tank clean, AND it’s a less messy clean-up for you — that’s a win/win/win!
The oil filter on your cold press juicer should be changed at least every six months to help keep your oil clean and free of impurities (here’s the maintenance schedule we recommend). This can change depending on how frequently your juicer is used. Ideally, your oil and filter should be changed at the same time.


Replace your Cold Press Juicer’s control panel button – learn how to switch an old-style lock nut button with the contact block-style button.

We recommend that you change the oil in your juicer once a year, at a minimum, but frequency may change if you use your press often.

It’s easy to maintain your cold press machine, and here’s a simple schedule to follow.